Retouching Portraits
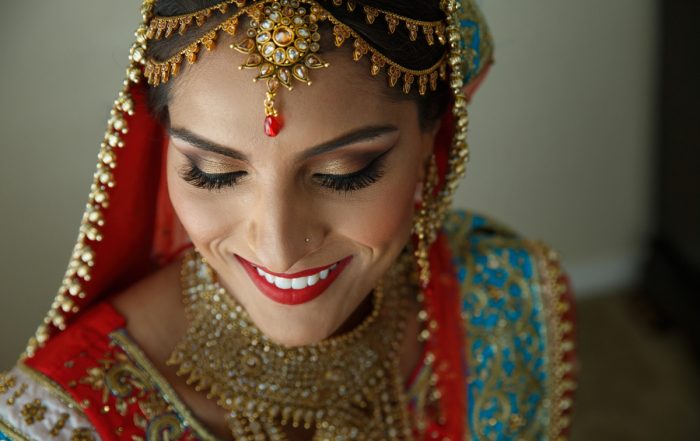
Editing can transform a flat shot into something amazing. This video demonstrates processing methods to add drama and punch to portraits.
Photos: Luc Coiffait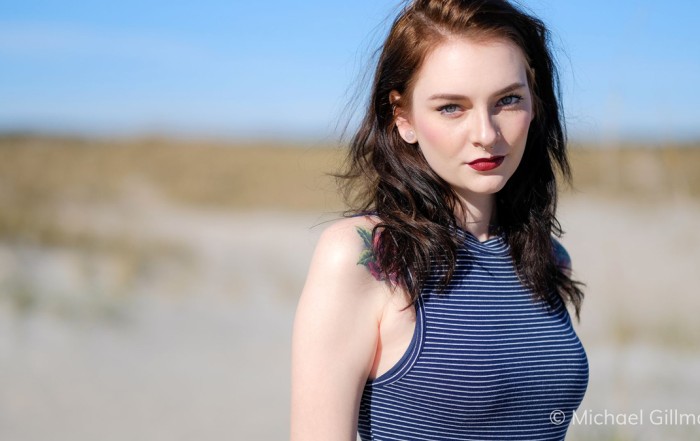
Converting to Polygon Selections
Converting masking selections into polygons enables you to quickly create detailed, adjustable selection boundaries in Exposure. This video teaches you how.
Photo: Michael Gillman
Lasso Selections
The Lasso selection tool in Exposure enables you to easily select objects in photos for editing adjustments. See how in this video.
Photo: Andrea Livieri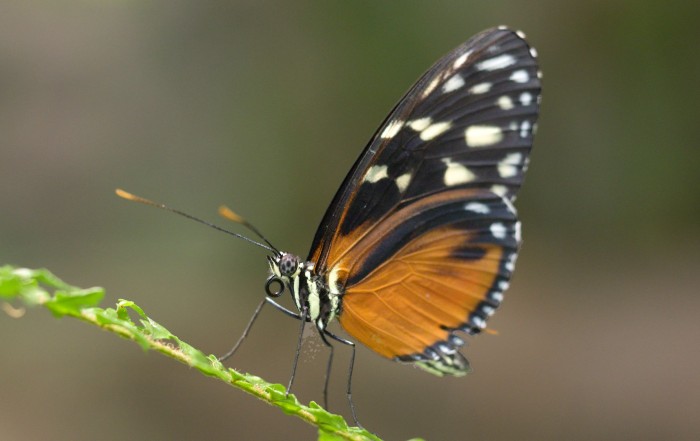
Border Marker Selections
The Border Marker selection tool in Exposure makes it easy to select objects in photos. See how in this video.
Photo: Jeff Butterworth, Michael Gillman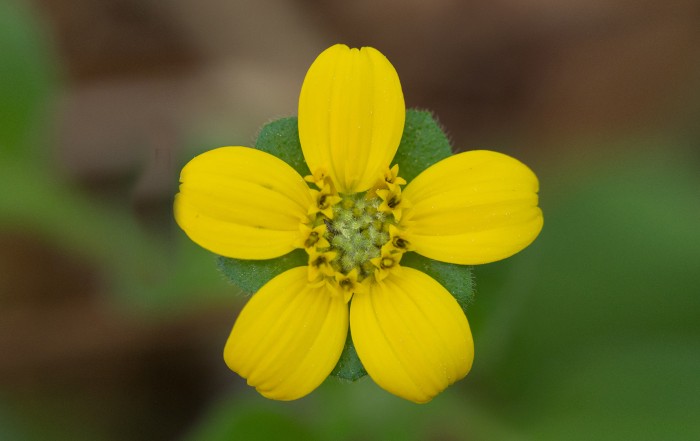
Quick Polygon Selections
This video demonstrates how to use the masking selection tools in Exposure. These tools help you quickly generate layer masks that isolate a subject for editing adjustments.
Photo: Jeff Butterworth, Julian Berman
Crop and Transform
Exposure uses a unified crop and transform panel to provide a simple way to compose photos. Learn how to use its tools in this video.
Photo: Patrick Shipstad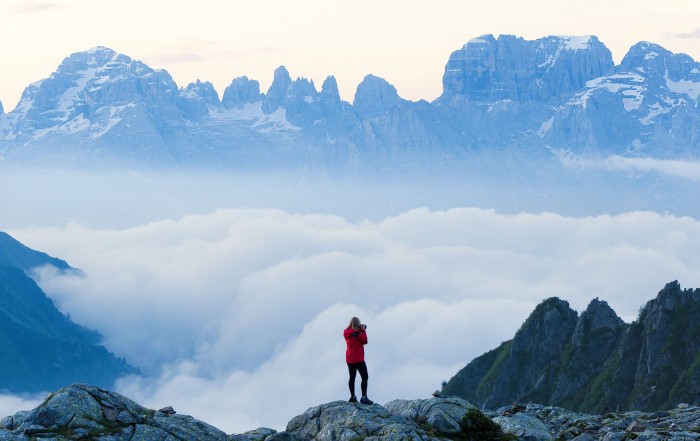
Masking Selection Tools
This video demonstrates how to use the masking selection tools in Exposure. These tools help you quickly generate layer masks that isolate a subject for editing adjustments.
Photo: Andrea Livieri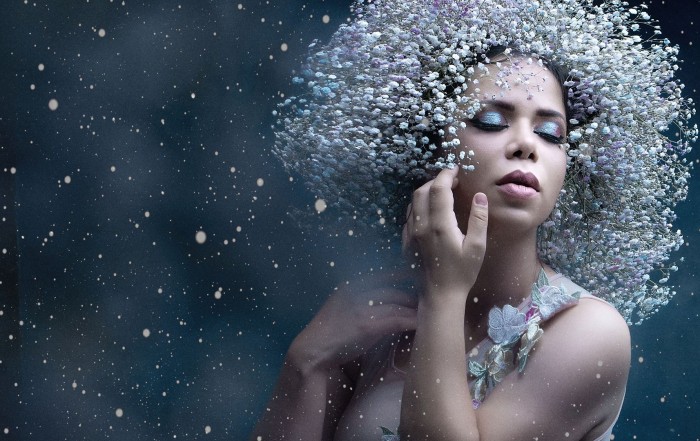
Workspaces
Workspaces are custom arrangements of panels designed for a specific task in Exposure. They help you focus your attention by showing only the controls needed to perform the task.
Photo: Alejandro Gutierrez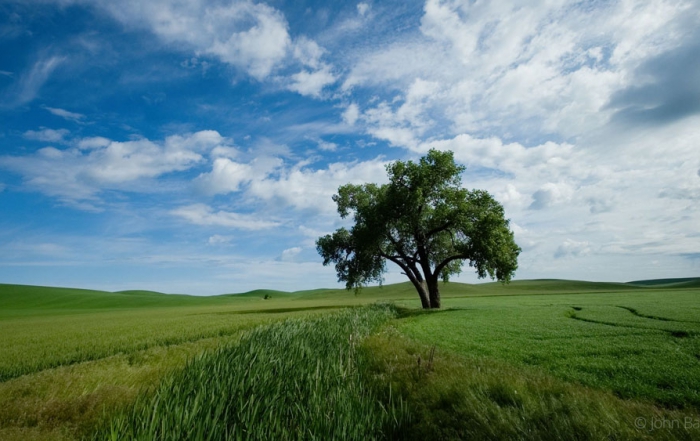
Getting Started
Watch this video to learn the basics of using Exposure and about the important features for photo editing and organizing.
Photo: John Barclay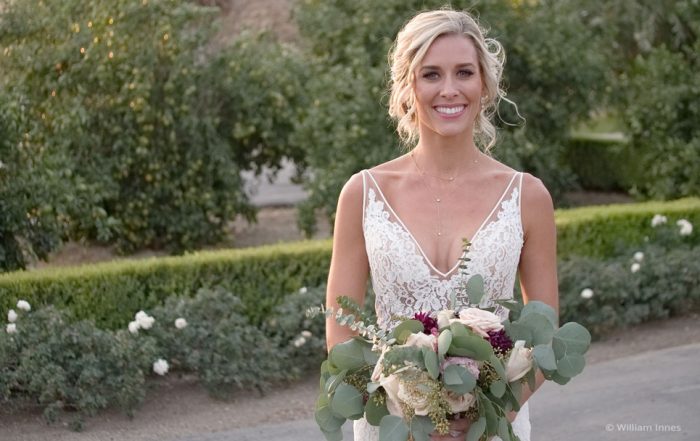
Copying Photos from a Card
This video helps you understand how to copy images from a camera card using Exposure. You'll see how to preview images on your camera cards, efficiently make image selections, edit metadata, apply creative presets, automatically save backups, and more.
Photo: William Innes Photography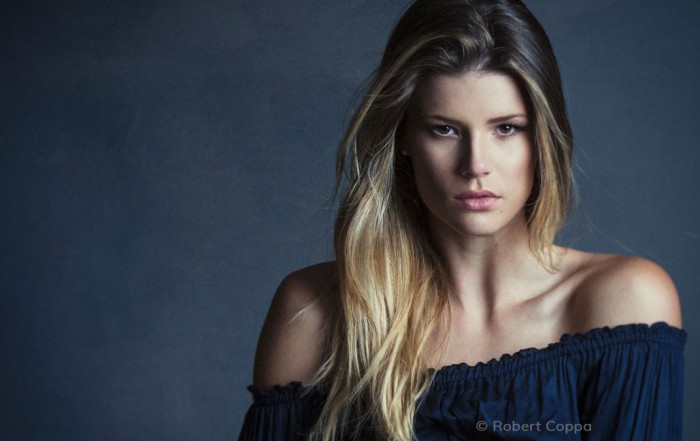
Applying Film Looks
This video introduces you to the preset categories. After watching you will know where to look for various effects in Exposure.
Photos: Bernard Mesa, Andrea Livieri, David Mecey, John Barclay, Robert Coppa, Model: Elizabeth Krijnen from Devojka Models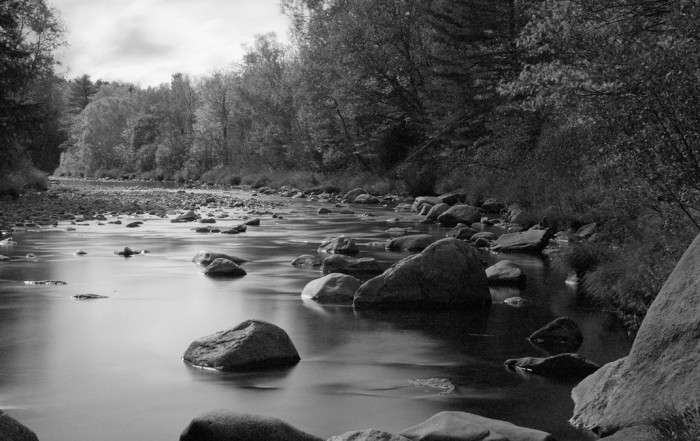
Black and White Editing
This video shows you techniques for converting color images into stunning black and white photographs in Exposure.
Photo: Kariann Photography
Editing RAW Photos
A few basic edits can make all the difference for your final photos. Watch this video and learn tips for getting the most out of your RAW images.
Photo: Bruce Cotton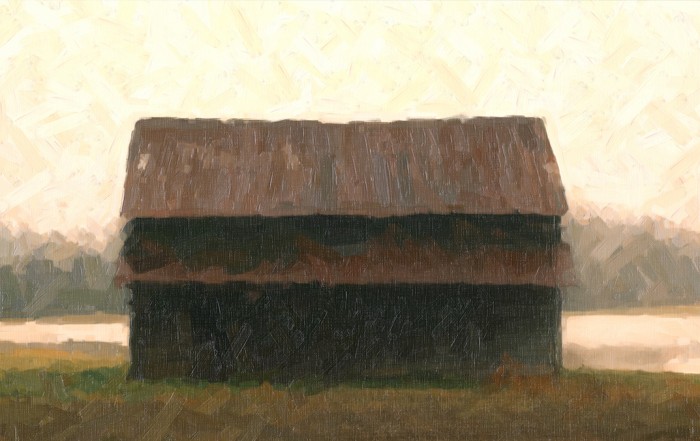
Snap Art: Canvas and Paint Texture
Learn how to build-up thick, dense looks in Snap Art with canvas and paint texture
Images © Michael Gillman.
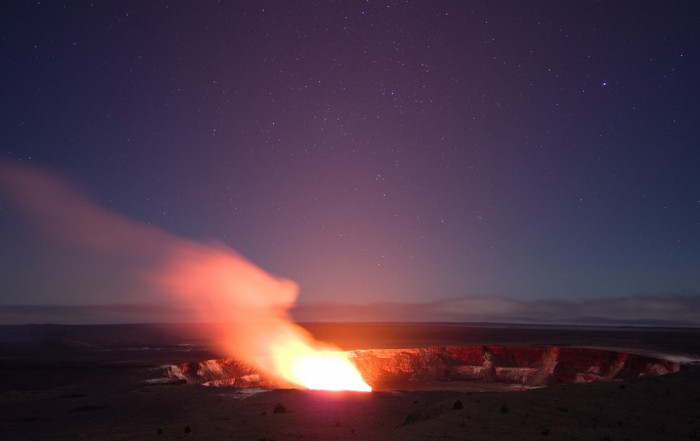
Noise Reduction
Although every digital photo has noise, it’s usually something to avoid. This video shows you how to reduce noise using Exposure.
Photos: Jeff Butterworth
Advanced Color Editor
Learn how to use the advanced color editor in Exposure for making precise color modifications in images. This video demonstrates the process.
Photos: Randy Kepple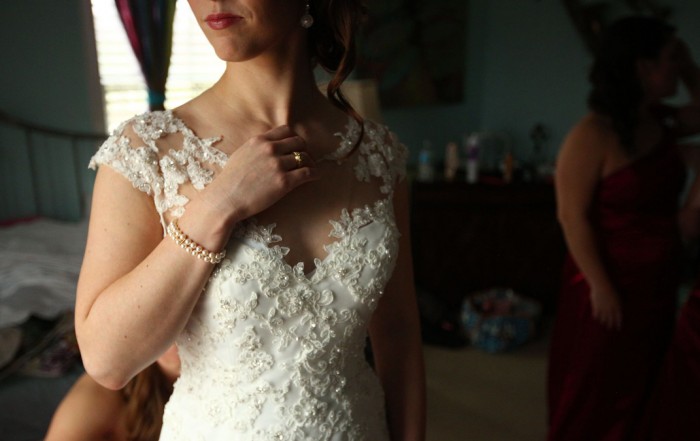
Automatic Image Organization
Efficient photo organization gets you through post-production quickly, so you can spend more time being creative. This tutorial demonstrates how to set up simple rules in Exposure that organize images automatically.
Photo: Hiram Trillo Photography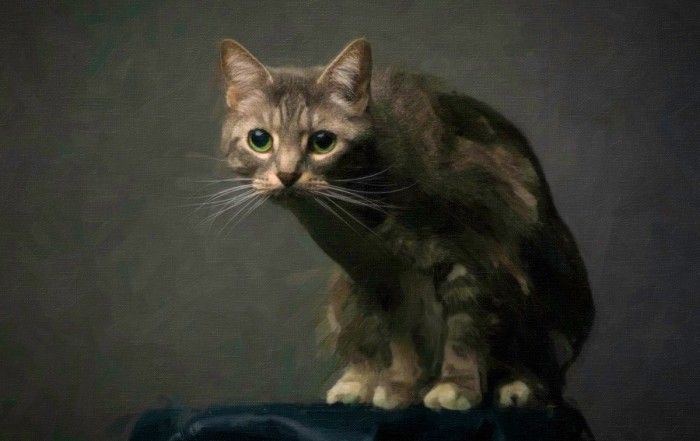
Using Exposure and Snap Art
The Exposure Bundle has great tools for creating unique art. This tutorial demonstrates how to use effects from Snap Art and Exposure together efficiently.
Photos: Great Bear Media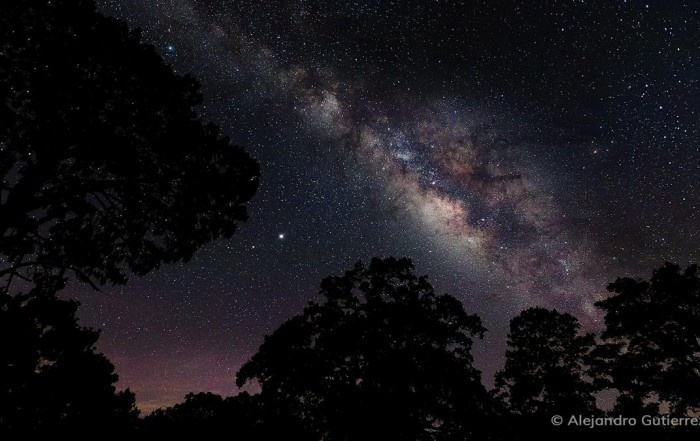
Collaborative Photo Editing
Exposure’s catalog-free design simplifies the workflow for editing photos collaboratively. This video demonstrates how to share photos and edits between two people.
Photos: Alejandro Gutierrez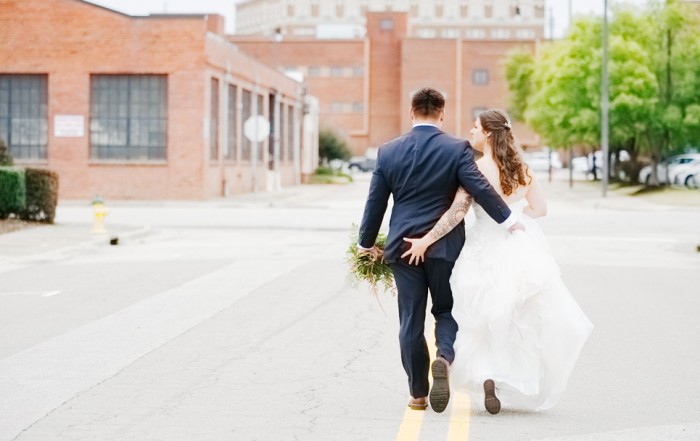
Light and Airy
Learn how to imbue your images with light and airy styling to produce consistently bright photos with muted pop in this video.
Photos: Eric Cox Photography
Editing with the Histogram
The histogram helps photographers quickly evaluate exposure values in their images. This video demonstrates how to put this tool to use it in your workflow.
Photos: Robert Whelan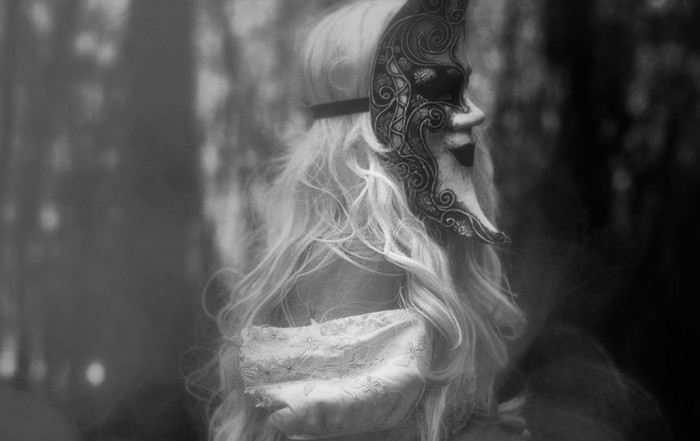
Ethereal Black and White Infrared
This tutorial demonstrates techniques for creating dreamlike black and white effects with ethereal properties.
Photos: Sharon Covert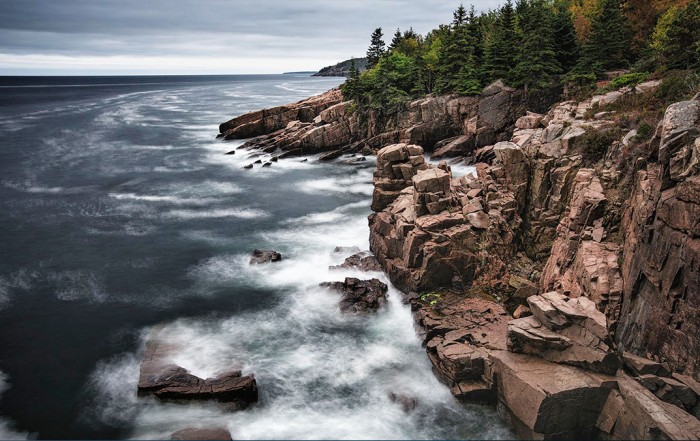
Gradient Tools
This video demonstrates how to use the gradient tools in Exposure to seamlessly blend and fade the adjustments applied to your images.
Photo: Scott Stulberg
Preset Audition
Learn how to audition several presets on the screen at the same time in Exposure. Comparing presets makes finding the perfect look for each photo a simple process.
Photos: Barbara MacFerrin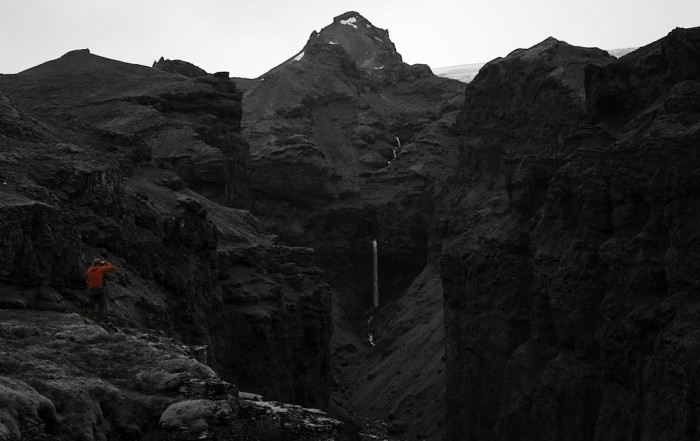
Spot Color Effects
Spot color is a powerful method of directing the viewer’s attention. This video demonstrates making selective color effects in Exposure.
Photos: Luc Coiffait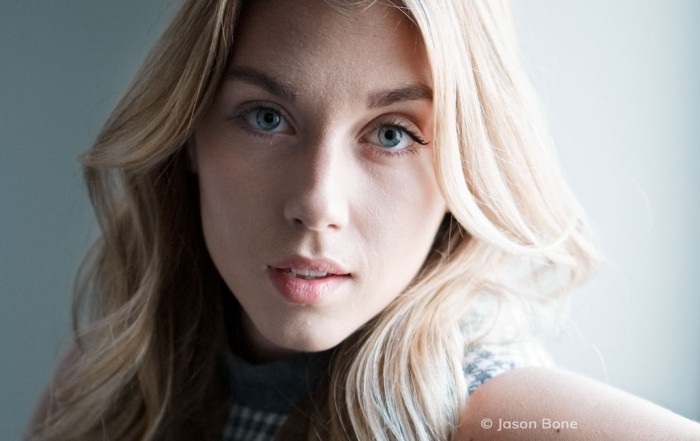
Reducing Blown Out Highlights
Learn powerful ways to identify blown out highlights in photos and methods for recapturing details lost in brightly-exposed areas.
Photos: Jason Bone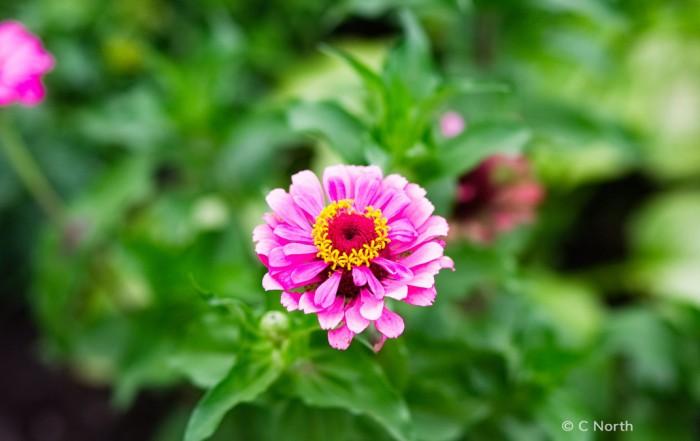
Combining Color Casts
The balance of colors is a crucial aspect of the success of an image. Watch this video for a lesson in correcting unwanted color casts in photos.
Photos: Andrea Livieri, Halftone Studios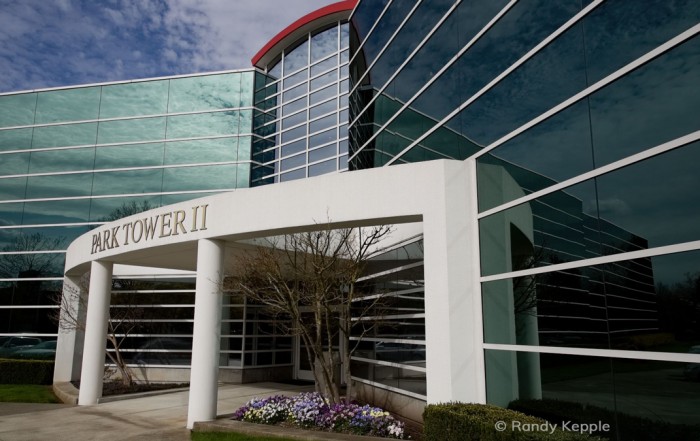
Precise Color Fringe Removal
This video demonstrates how to identify and remove unwanted color fringes from photos.
Photo: Randy Kepple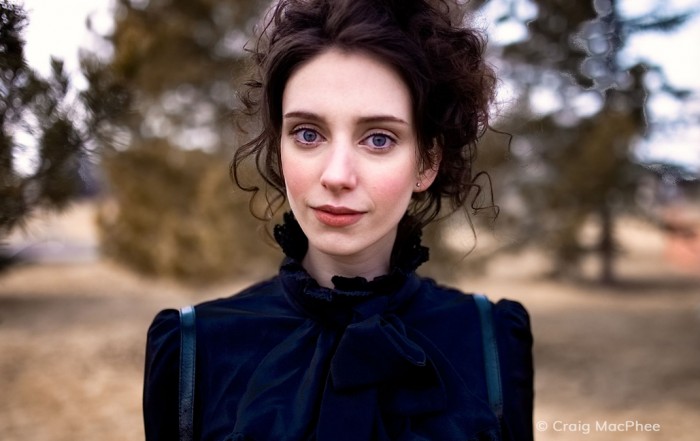
3D Color Masking Deep Dive
Learn how to define detailed layer masks with minimal effort in this video. Defining layer masks is a simple process with Exposure's 3D color masking tools.
Photos: Craig MacPhee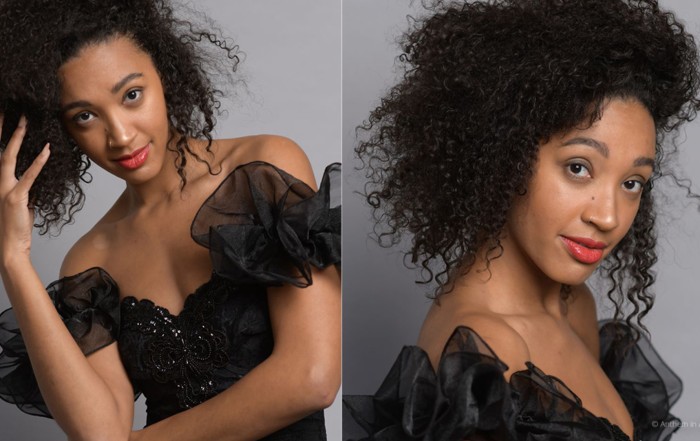
3D Color Masking
Learn how to define layer masks based on hue, saturation, or luminance. You can create masks defined by these constraints and share them between similar photos.
Photos: Andrea Livieri
Lens Distortion and Vignetting
Learn a few techniques for removing issues from images, such as straight lines that appear to curve, or unwanted darkening near the corners of the frame.
Photos: Randy Kepple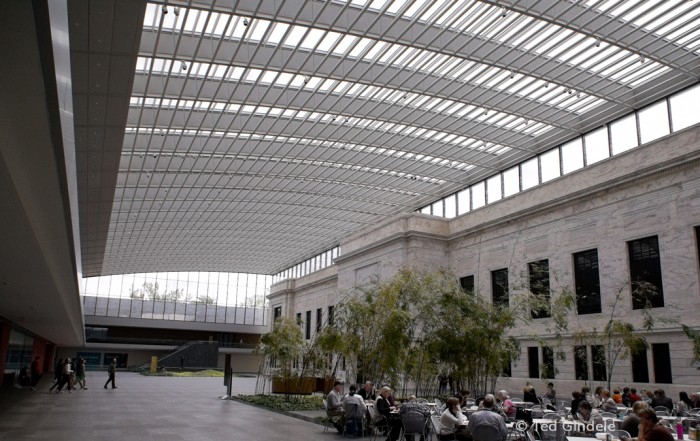
Correcting Chromatic Aberration and Color Fringing
This video demonstrates how to fix chromatic aberration issues. Learn where to find them, how to fix them, and how to balance adjustments to remove them.
Photo: Hatice Lance
Camera Profiles
This video demonstrates how to create and use camera profiles, including the use of color checker systems, to reproduce colors that are true to life.
Photo: Pooje Photography
Photo Backups and Archives
Backing up photos is a foundational part of processing digital photography. This video demonstrates methods for creating and managing archives of images.
Photos: C. North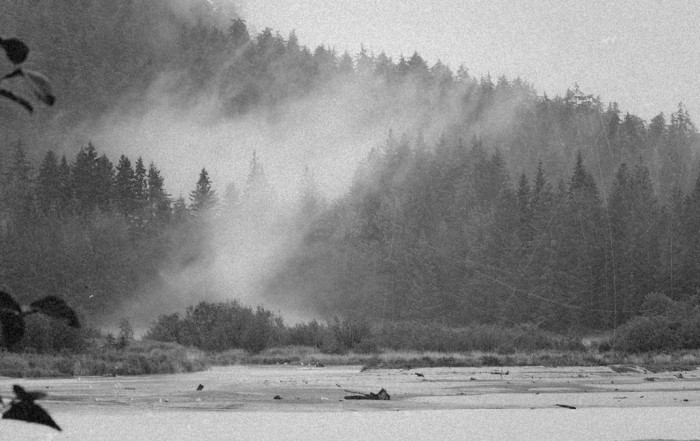
Gritty Black and White Looks
This tutorial demonstrates techniques for creating high-contrast black and white looks with grit and grunge reminiscent of vintage Hollywood films.
Photos: Kariann Photography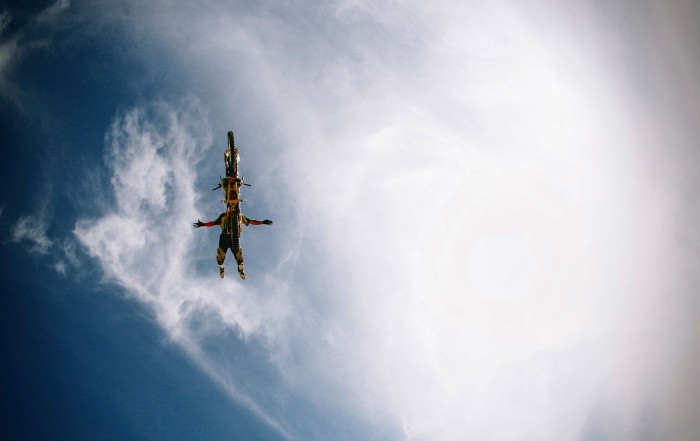
Enhancing Sky Details
Learn to recover details in a brightly captured sky and how to balance adjustments between the sky and foreground in this video tutorial.
Photos: Jean Francois Muguet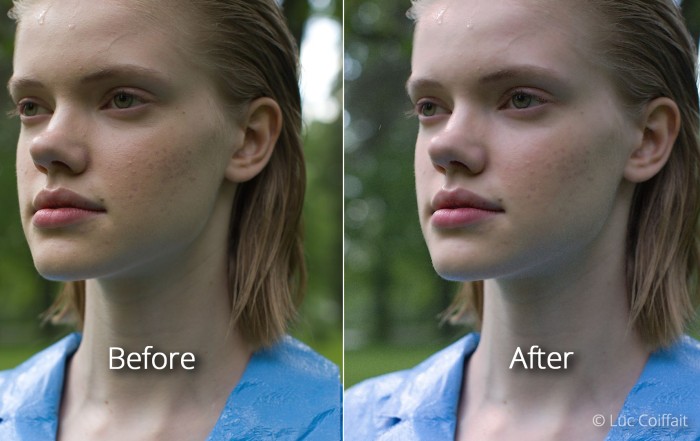
Processing Portraits
Editing can transform a flat shot into something amazing. This video demonstrates processing methods to add drama and punch to portraits.
Photos: Luc Coiffait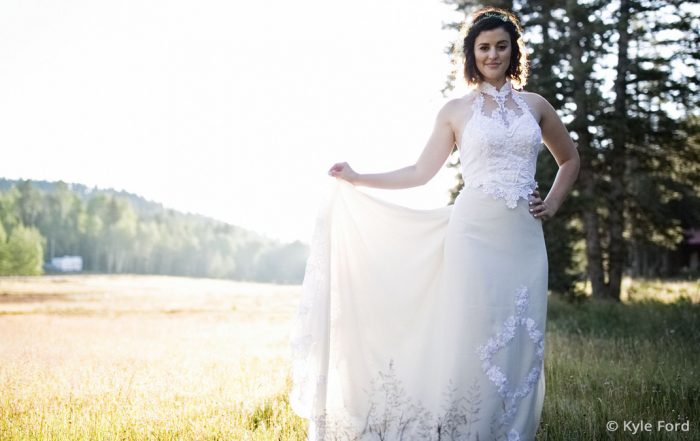
Removing Distractions
Watch this video for a lesson in removing distracting elements from photos with the spot healing, cloning, and cropping tools, and how to reduce the impact of elements that can't be removed.
Photos: Kyle S Ford
Wedding Workflow
This tutorial guides you through adding punch to flat photos with adjustments to clarity, contrast, and vibrance. Learn tips on when to use each technique, how much to apply, and more.
Photos: Hiram Trillo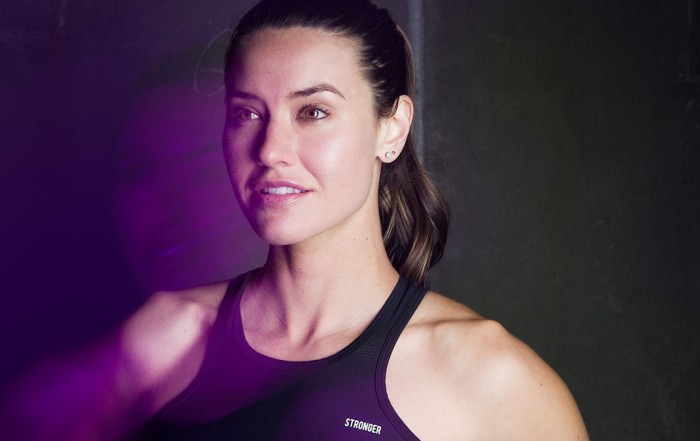
Fast Photo Culling
This video shows you how Exposure helps you quickly cull your images to find the very best ones. And you do all your work, both culling, and editing, in one interface, so you can seamlessly transition between stages in your workflow.
Photo: Kyle Allen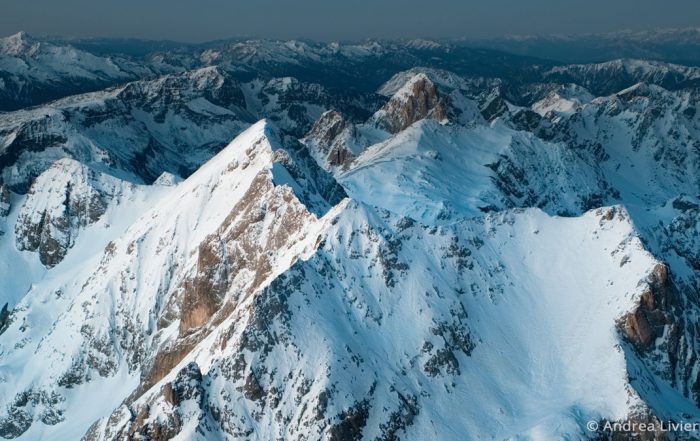
Fixing Color Casts
The balance of colors is a crucial aspect of the success of an image. Watch this video for a lesson in correcting unwanted color casts in photos.
Photos: Andrea Livieri, Halftone Studios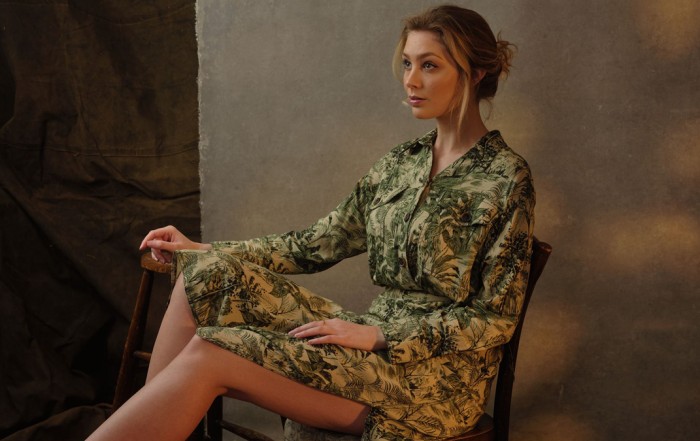
Punching up a Flat Photo
This tutorial guides you through adding punch to flat photos with adjustments to clarity, contrast, and vibrance. Learn tips on when to use each technique, how much to apply, and more.
Photos: David Shoukry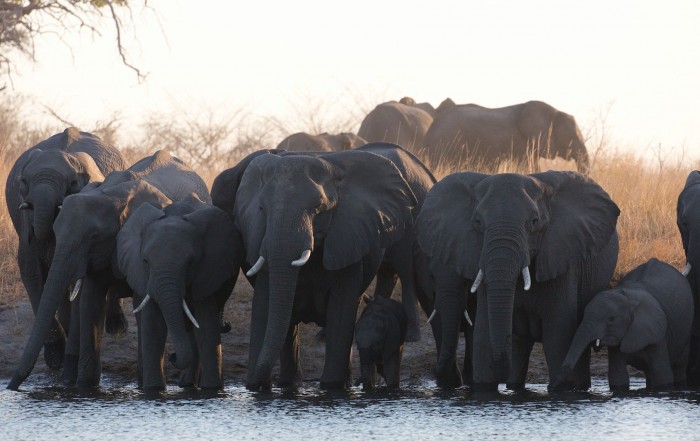
Fixing Underexposed Images
Watch this video and learn basic post-processing methods for correcting underexposure in digital photos that are dark.
Photos: Megan Dreyers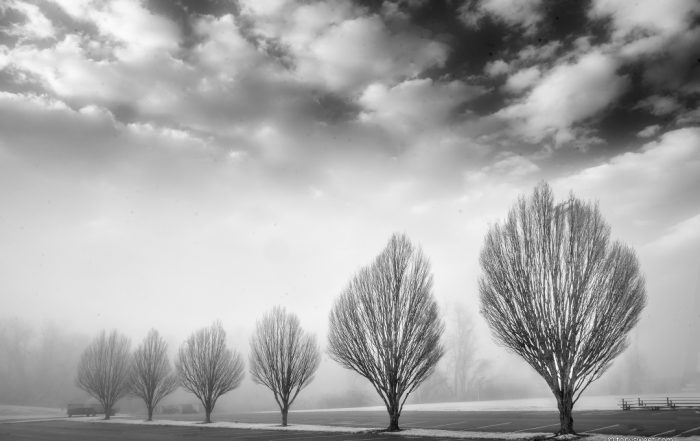
Configurable Keyboard Shortcuts
Shortcut keys designed for your specific needs can greatly improve your workflow. This video shows you to customize the keyboard shortcuts in Exposure.
Photo: Tony Sweet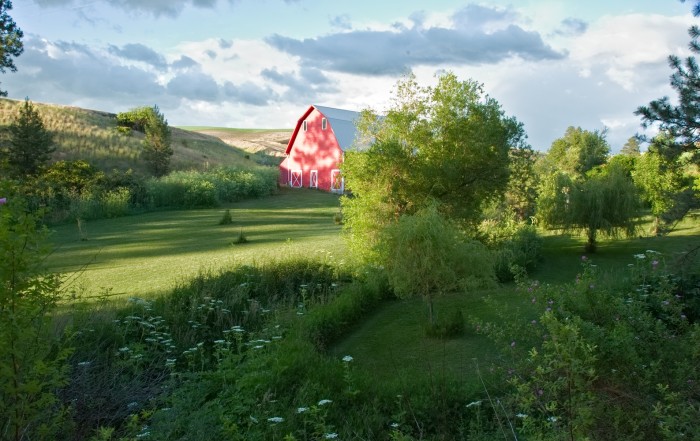
Working with LUTs
Learn how to work with LUTs in your Exposure workflow. This video demonstrates how to import LUTs into Exposure, then how to browse, search, adjust intensity, blend multiple LUTs, and more.
Photos: Scott Stulberg
Overlays
Learn all about Exposure's overlays in this video. We'll show you how to apply borders, textures, and light effects, and how to customize them.
Photo: John Barclay
Printing Photos
Learn the basics of printing, and preparing your images for print, using Exposure’s print capability.
Photo: OCH Studio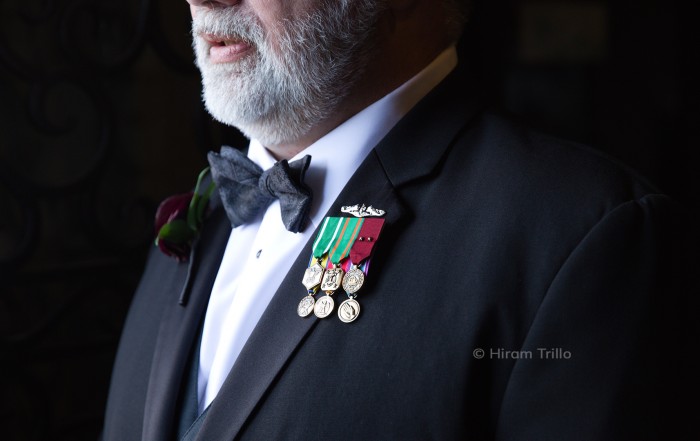
Migrating from Lightroom
This video walks you through the process of using Exposure's migration tool to transfer images and image data from a Lightroom catalog into Exposure.
Photo: Hiram Trillo
Managing Photos with Collections
This video demonstrates how Exposure's collections features help you manage your photos quickly, easily, and with lots of flexibility. Learn how you can benefit from Exposure's collections.
Photo: John Barclay, Scott Stulberg, Patrice Mestari, Niall Benvie, Michael Gillman, Halftone Studios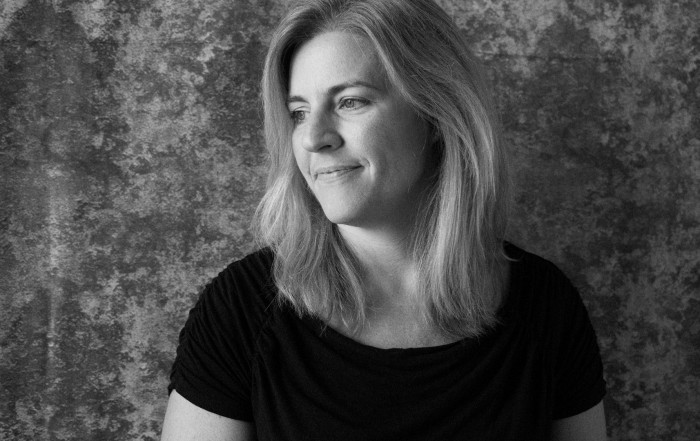
Tethered Shooting
Learn how to use Exposure for tethered shooting workflows in this video. Tethered shooting enables you to view the finished images on a large screen immediately after clicking the shutter.
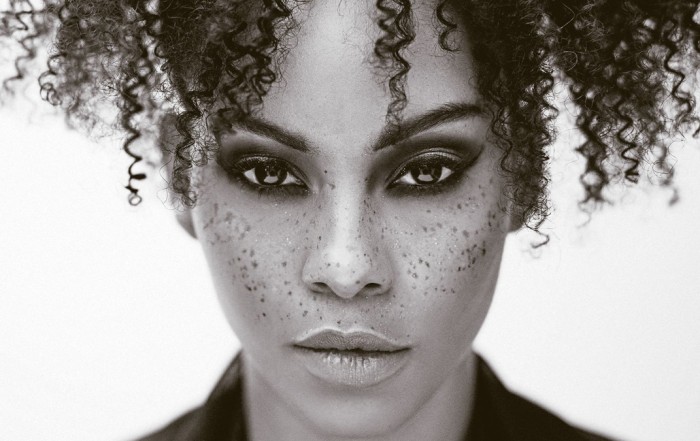
Split Toning Effects
This video demonstrates how to apply split toning effects to your images in Exposure.
Photo: Terrence Jones Photography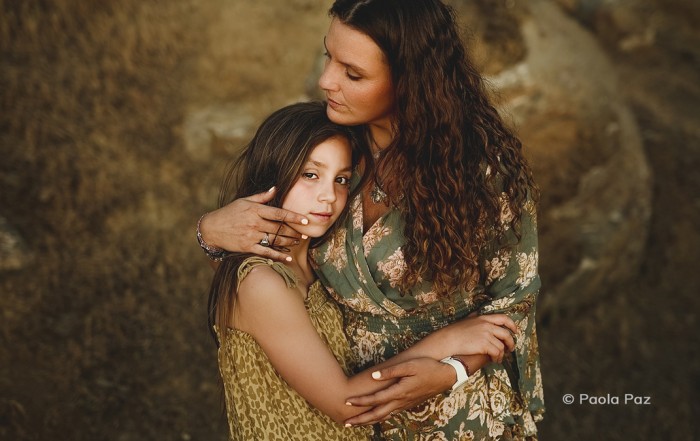
Color Toning
Exposure's tools enable adjust colors with precision and ease. This tutorial demonstrates how to take command of image color with creative color toning effects.
Photo: Paola Paz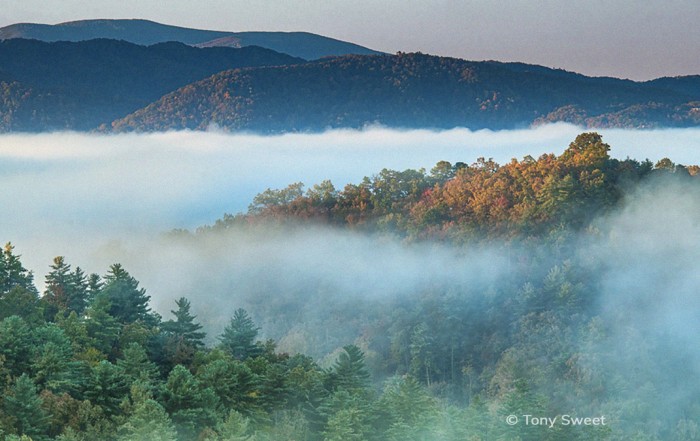
Adding Film Grain
If you love the look and feel of grain, or if you’re drawn to the nostalgia of analog film, check out this tutorial. Learn to the fundamentals of applying and controlling grain effects to enhance your photos in Exposure.
Photos: Tony Sweet
Virtual Copies
Exposure’s virtual copies feature encourages you to experiment with different looks for your photos. See how to use the feature in this video.
Photo: Art Face Portrait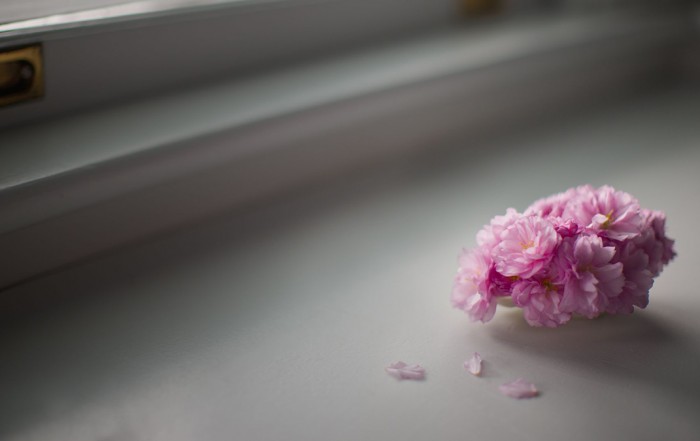
Local Adjustments
Photos: Angie Lambert

Complementary Color Grading
This tutorial video demonstrates techniques for building a custom Exposure preset with a beautiful orange and teal look.
Photo: Jason Bone, Robert Coppa, Alexander Heinrichs, Jenna Barrett
Preparing Photos for Social Media
Increase your exporting productivity by integrating Exposure's quick export presets into your workflow. This video shows you how.
Photo: Bruce Cotton
Organizing with Keywords
Keywords enable you to structure robust classifications, and flexibly search through your digital image library. Learn how keywords can assist you in organizing your photos in this video.
Photo: Frank Salas
Watermarks
This video demonstrates how to when and how to apply watermarks, how to customize them, and how to create your own using Exposure.
Photo: Jan Siebert
Comparing Photo Treatments
Learn how to use Exposure’s side-by-side view to experiment with photo treatments.
Photo: Kyle Ford
Removing Sensor Dust
Photographer Kyle Ford demos his workflow method to clear dust spots from his photos in Exposure.
Photo: Kyle Ford
Sharpening Techniques
This video introduces you to several different types of image sharpening, and it explains when to use each kind. Learn how to get great-looking sharpening results by adding the effects during various periods in your workflow.
Photo: April Milani, Anne Helene Gjelstad
Using External Editors
Learn how to launch images in other programs as external editors from Exposure. Integrating all your tools into one central post-processing tool is one of the great benefits to using Exposure as the centerpiece of your workflow.
Photo: Matthew Bliss
Working with Layers
Layers take photo editing to a whole new level. Separate layers provide more precise control over adjustments. Learn how to use layers in this video.
Photo: Lynda Mills
Working with Photoshop Files
Learn how to integrate Exposure with Photoshop. This video shows you how to edit PSD images created in Photoshop, how to export PSD images, and more.
Photo: McClanahan Studio
Tim Grey Webinar
Learn ways to improve your understanding of Exposure’s many creative tools. Watch expert instructor Tim Grey’s webinar 'Effects for Creative Vision' and gain new insights into creative editing.
Batch Editing
Batch editing is a post-processing technique that allows for adjusting a bunch of images fast. If you have images shot under similar lighting conditions, you can apply the same tweaks to them all at once. Exposure gives you a few different ways to batch edit photos.
Photo: Jeni Ann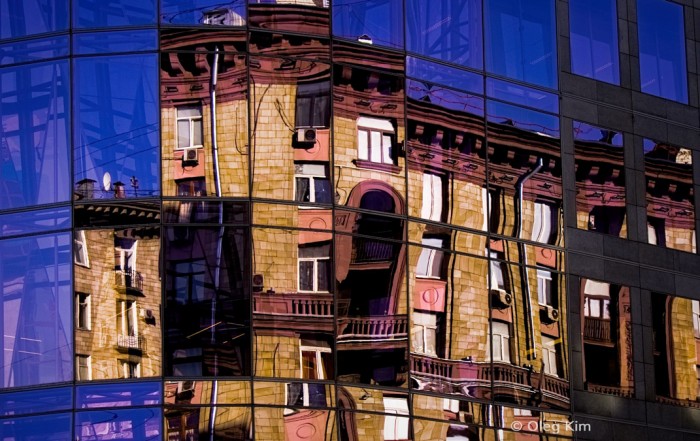
Vignette
This video shows you how to create well balanced vignette effects. Vignettes are great creative tools to subtly focus attention on the subject.
Photo: Oleg Kim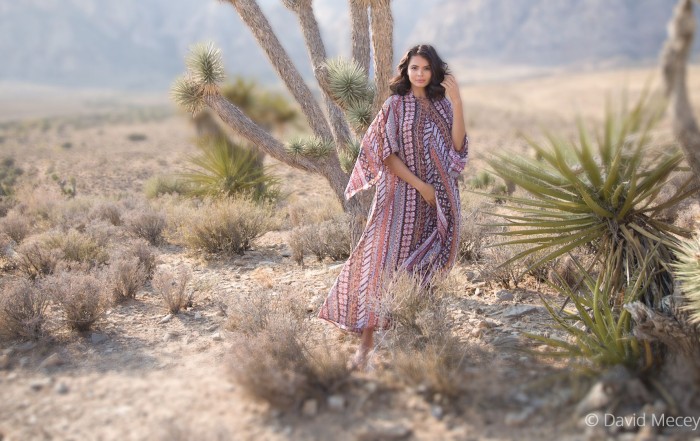
Creative Focus Effects
Image focus is a powerful way to direct the viewer’s eye. Controlling areas that are in and out of focus gives you loads of creative options in post-production. This video was made to show you how you can add realistic blurring effects to your images in Exposure.
Photo: David Mecey
Working with Presets
Learn how to work with presets in Exposure. See how to browse and search, use filtering, how to save custom presets, and how to import and export.
Photo: Tony Asgari
Exporting
Learn methods for exporting finished images out of Exposure. Exporting is the last major step in your post processing workflow..
Photo: Hiram Trillo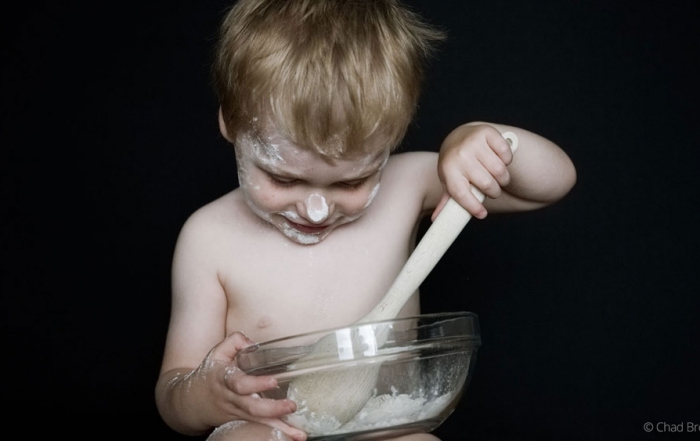
Managing Image Files
Learn how to browse files, add favorite folders, and perform file management in Exposure.
Photo: Oded Wagenstein, Jay Marroquin, Jimmy Beech, Chad Bromley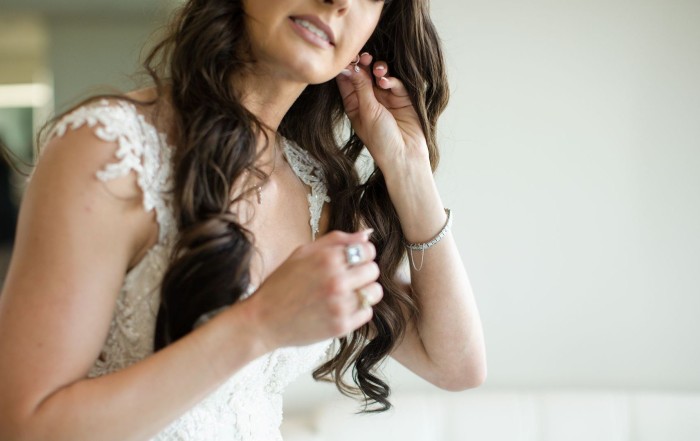
Tagging, Filtering, Sorting, and Searching
Learn how to organize files in Exposure using the tag, filter, sort, and search tools.
Photo: Hiram Trillo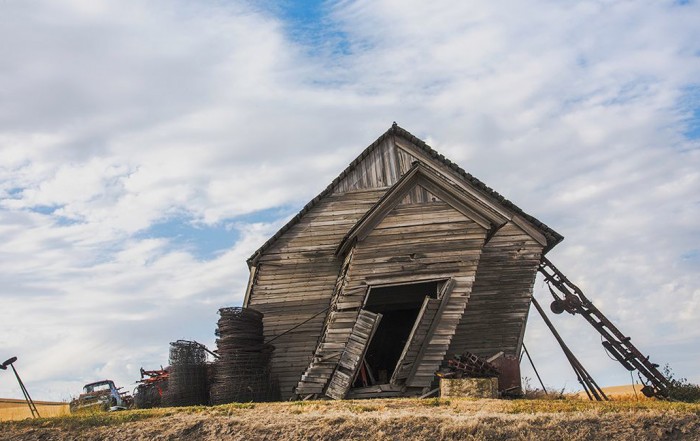
Understanding Exposure’s Nondestructive Workflow
This video demonstrates some of the main benefits to Exposure's non-destructive photo editing workflow.
Photo: Tony Sweet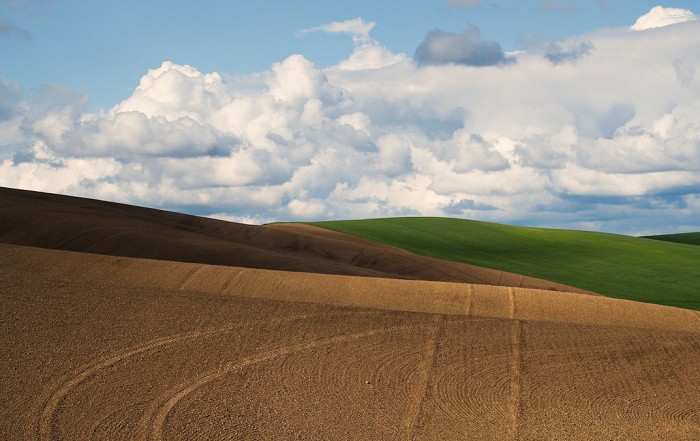
Lightroom
This video tells the first things to know when you’re starting to use Exposure with Adobe Lightroom. It gives a brief tour of the UI, and suggestions for how to work.
Photo: John Barclay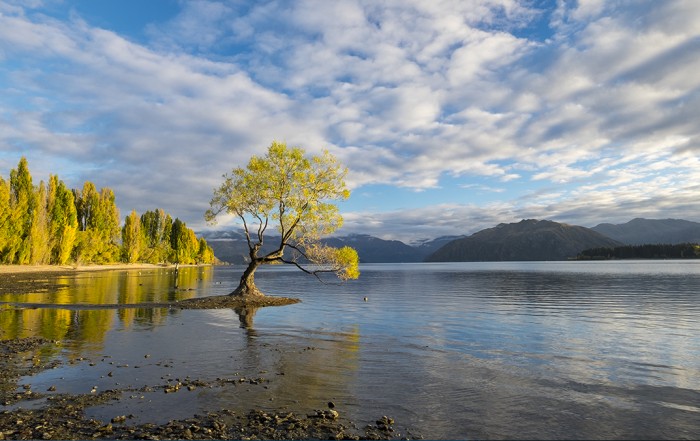
Photoshop
Exposure is a complete photo editor that can handle your entire photography workflow. But, it can also integrate into other photo editors. This video demonstrates how to access the unique creative capabilities in Exposure from within Adobe Photoshop.
Photo: John Barclay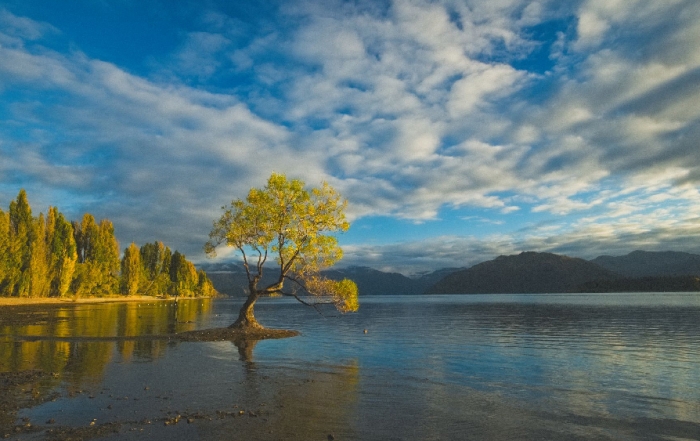
Exposure Bundle: Getting Started Photoshop
This video guides you through how to launch and use the Exposure Bundle as a series of Photoshop plug-ins.
Photo: John Barclay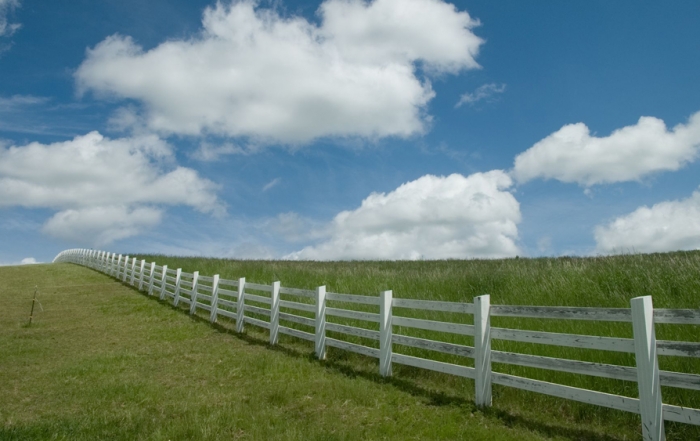
Exposure Bundle: Getting Started Lightroom
This is a getting started video guide that demonstrates how to launch and use the Exposure Bundle as a series of Lightroom plugins.
Photo: John Barclay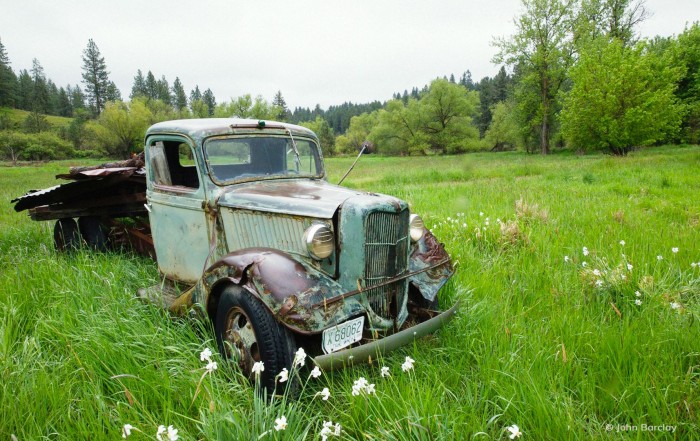
Exposure Bundle: Getting Started
This getting started video shows how to use all of the award-winning photography tools in the Exposure Bundle.
Photo: John Barclay
Eye Candy: Furry Text
Learn to use the Animal Fur effect on text, selections, & objects in Photoshop.
Topics Covered: Animal Fur
Eye Candy: Reflections
Here's a quick tutorial about using the Shadow effect to create mirror-like reflections.
Topics Covered: Shadow

Eye Candy: Winter Holiday
Learn how to make icy winter graphics with a combination of the Snow and Icicles effects.
Topics Covered: Icicles, Snow

Eye Candy: Gold
This video shows numerous ways to achieve gold looks with different effects in Eye Candy 7.
Topics Covered: Chrome, Diamond Plate, Brushed Metal, Rust

Eye Candy: Chrome
This video explains how to get great-looking Chrome in Eye Candy, every time.
Topics Covered: Chrome
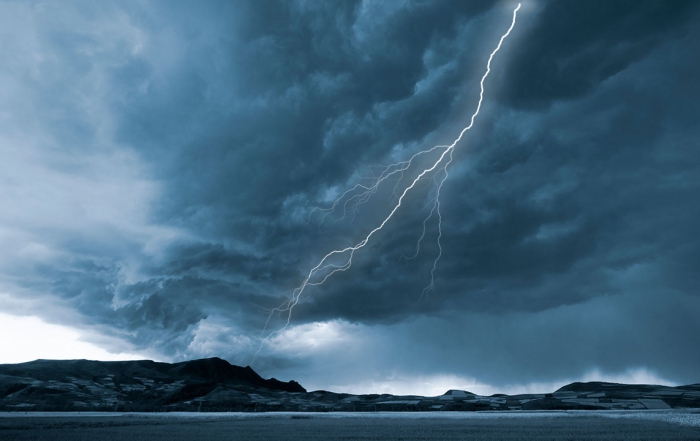
Eye Candy: Lightning
Control applying settings to images of various sizes with the Scaling Modes.
Topics Covered: Scaling Modes
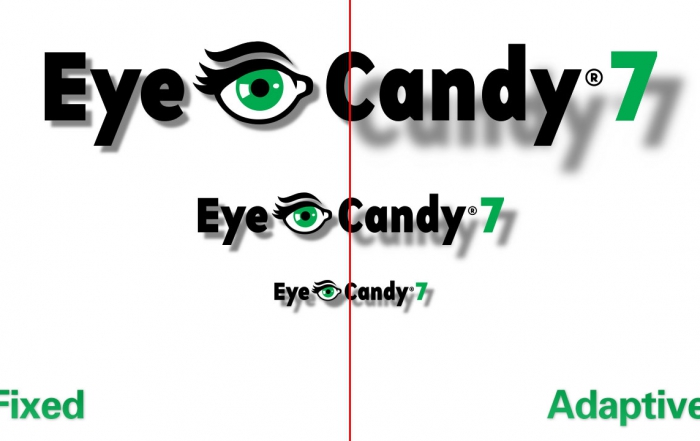
Eye Candy: Scaling Modes
Control applying settings to images of various sizes with the Scaling Modes.
Topics Covered: Scaling Modes

Eye Candy: Textures
Use the texture effects to fill an object or an entire layer and see how to manipulate their behavior.
Topics Covered: Brick Wall, Reptile Skin, Animal Fur

Eye Candy: Shapes
Learn how to dress up objects, text, & selections using the shape effects.
Topics Covered: Extrude, Shadow, Fire

Eye Candy: Getting Started
After Eye Candy 7 is installed, watch this video to start learning how to use it.
Topics Covered: Basic Workflow, Navigation, Presets, In-Preview Controls
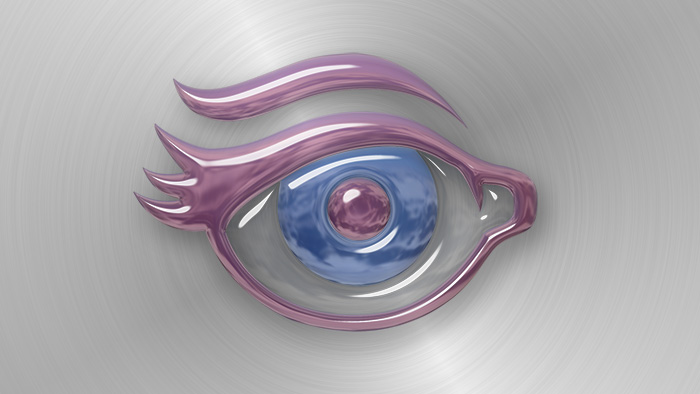
Eye Candy: Introduction
Here is a quick introduction to Eye Candy 7. This shows some examples of the program's capabilities.

Blow Up: More about Modes
Here is a further explanation about the three different modes in Blow Up 3.

Blow Up: Getting Started
Blow Up enables you to enlarge images to huge sizes without sacrificing image quality. It makes it easy to make photos big enough to print on a semi truck or a billboard. This video shows you the basics.
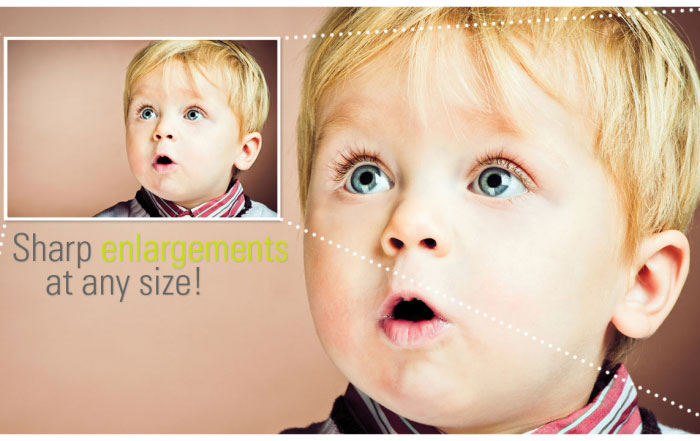
Blow Up: Introduction
This is a brief introduction to Blow Up 3. You'll hear and see what the program does and what it's capable of doing. To learn more about Blow Up 3, watch the Getting Started video.
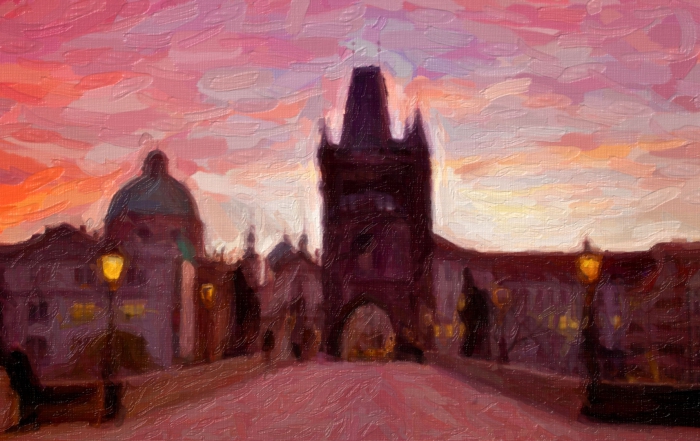
Snap Art: Effects Tour
A tour of Snap Art's range of effects and a quick look at controls for perfecting your image.
Photo: Tyson Robichaud
Snap Art: Detail Masking
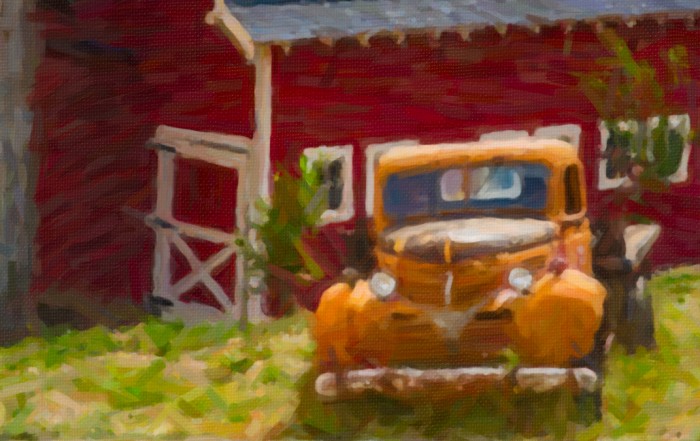
This video shows you how to apply selective adjustments to specific areas of your image to enhance details, draw attention to your subject, etc.
Photo: Tony Sweet
Snap Art: Introduction
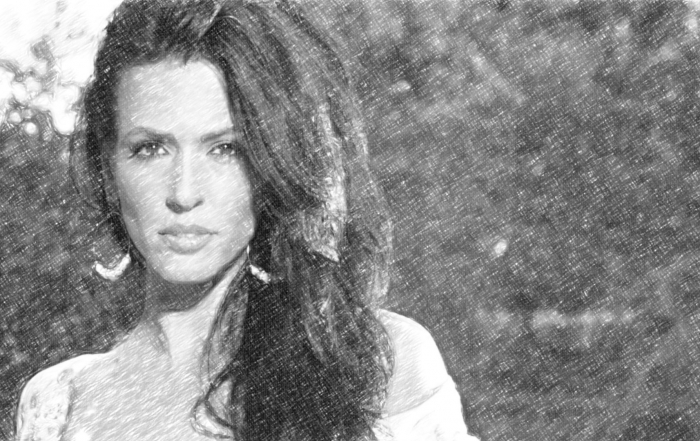
A brief introduction to Snap Art. This video demonstrates its abilities to create natural media effects that look hand made.
Photo: Jimmy Beech.
Snap Art: Getting Started
Photo: Tony Sweet
